What Pixelation Actually Does
Pixelation, in the literal sense, means cutting an image into a grid and filling each cell with the average color of the area it covers. Set the block size to 16px and a 1024px-wide photo becomes 64 blocks across. Each block gets one flat color. That is the entire effect — and that is why the output is usable as a material.
It is also deterministic. The same photo with the same settings always produces the same grid, and the palette panel tells you the exact hex code of every color in the result. An AI pixel-art filter does something else entirely: it redraws the image in a pixel style. The redraw can look stunning, but the block count, the color count and even the details are not under your control.
| Real pixelation (this guide) | AI pixel-art filter | |
|---|---|---|
| Grid | Exact block size or cell count | Approximate — not guaranteed |
| Colors | Known palette, hex codes listed | Whatever the model picks |
| Same input twice | Identical result | Different every time |
| Transparency | Preserved | Often flattened or repainted |
| Best for | Charts, sprites, patterns, map art | Stylized artwork for posts |
Step-by-Step: Turn a Photo into Pixel Art
Step 1 — Start With a Photo That Has a Clear Subject
The photo matters more than the settings. One clear subject, flat light and a simple background survive the grid; a busy scene turns into confetti. Portraits and pets are the easiest subjects, because a face still reads as a face at 16px.
You do not need a high-resolution file — anything 500 to 1500 pixels wide is plenty, since the output is deliberately small. Two things are worth keeping. First, use the original file rather than a social-media export, which has compression noise baked in. Second, if the background should stay transparent, convert a transparent PNG — the converter preserves the alpha channel.
Step 2 — Pick the Pixel Size (the Decision That Defines the Look)
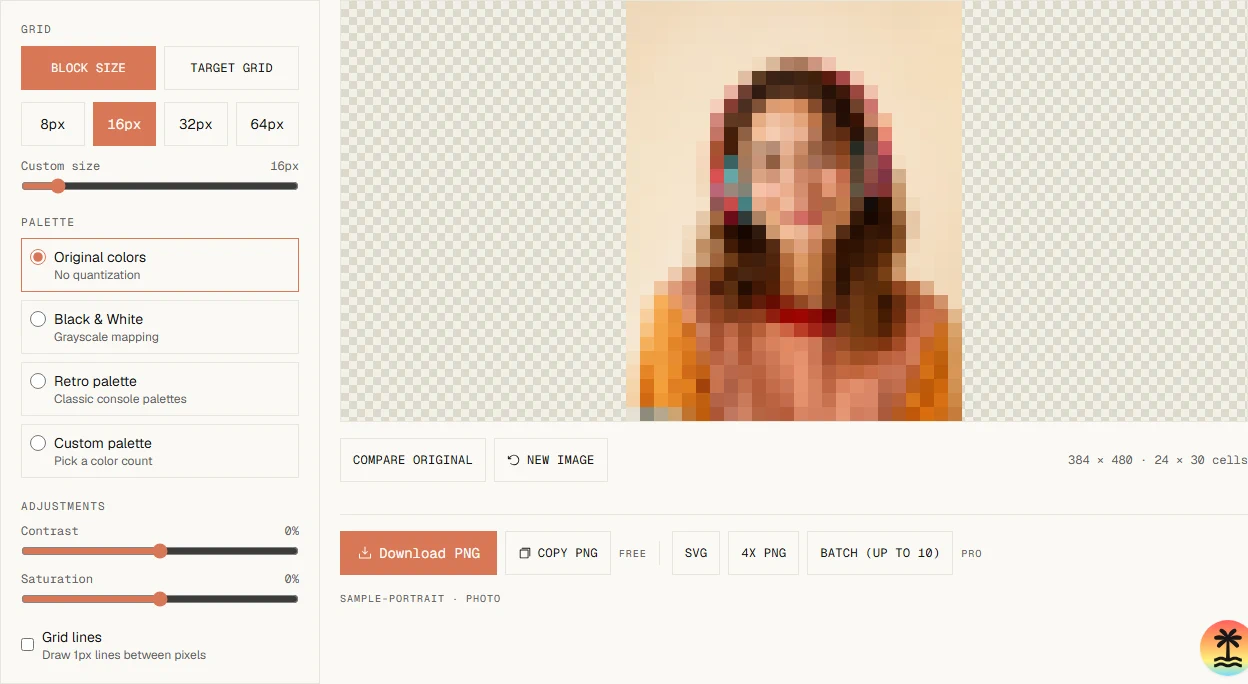
Block size is resolution. 8px blocks are sprite territory — right for icons, logos and anything that should look like a Game Boy asset. 16px is the classic pixel art look most people imagine. 32px and 64px lean mosaic and keep more of the photo readable.
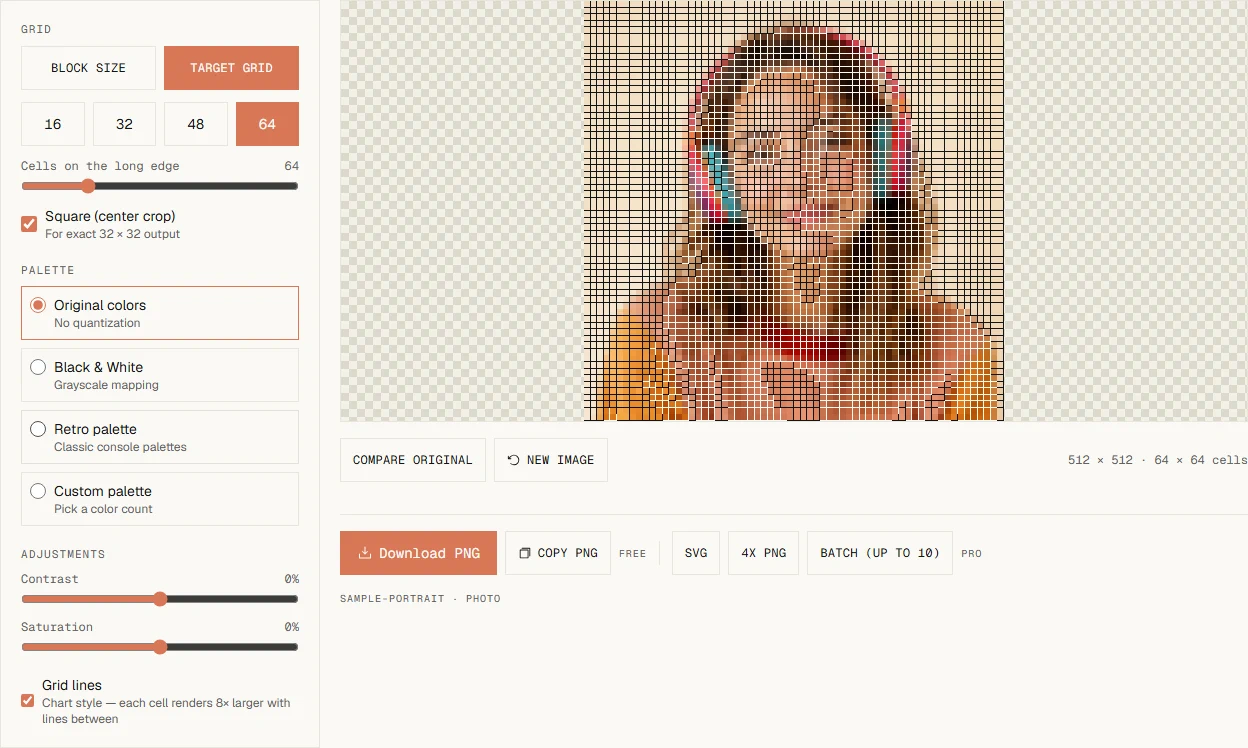
If the output must be an exact size — a 32×32 sprite, a 29×29 perler board — switch from block size to target grid and set the number of cells on the long edge. Tick the square center-crop for true N×N output, and turn on grid lines if you want each cell drawn as a chart you can follow.
Step 3 — Choose a Palette
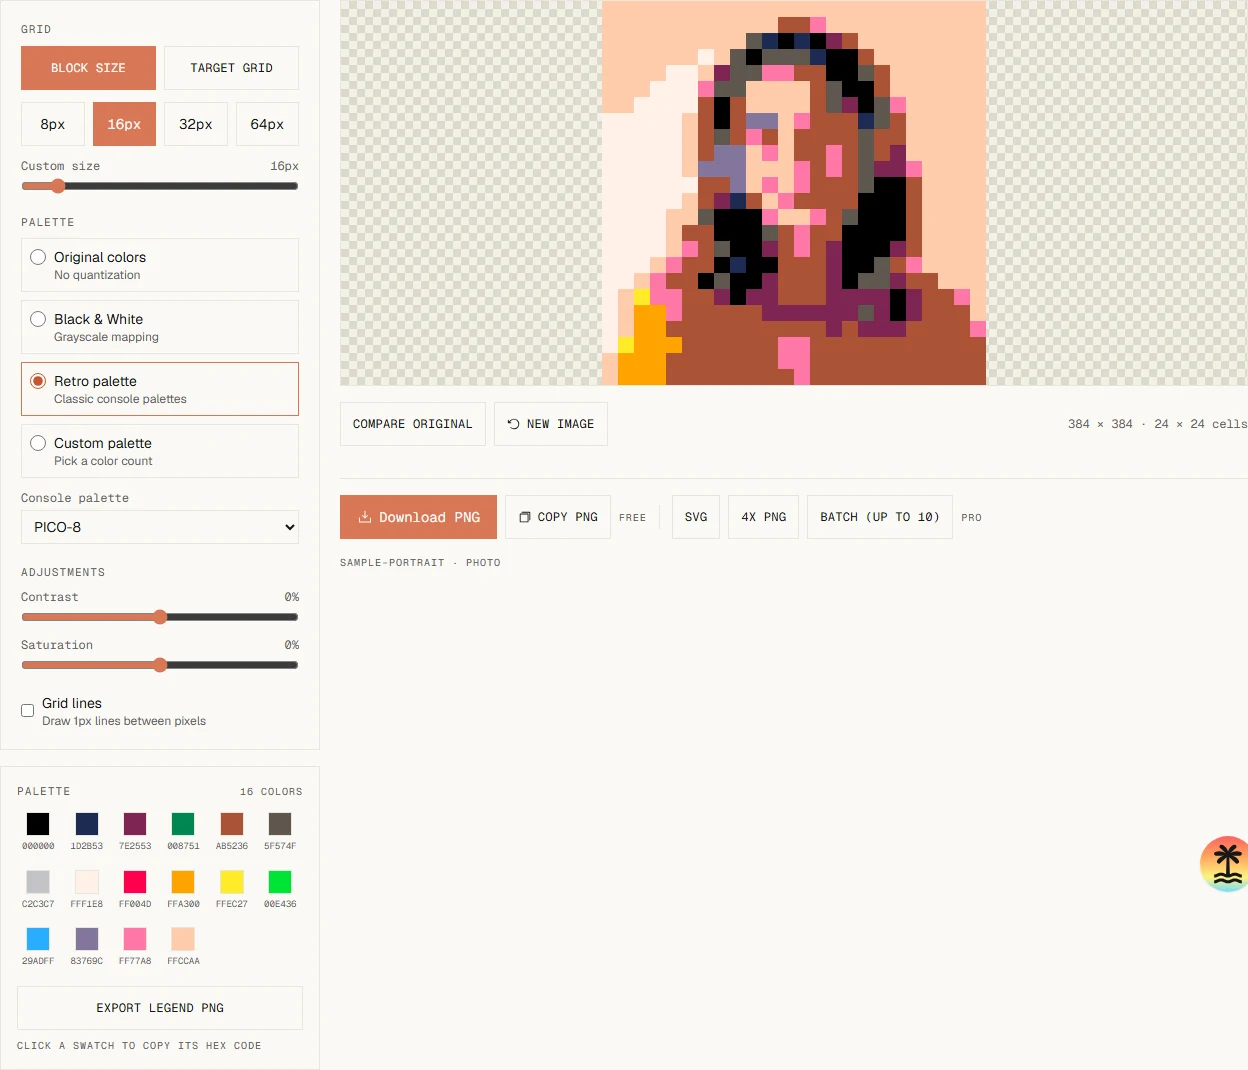
The palette decides the mood. Original colors keep the photo recognizable. Black & White is the highest-contrast option and the cheapest to print. The retro palettes — PICO-8, Game Boy, CGA, Ice Cream GB and One Bit — snap the photo to the exact color sets of classic consoles, which is where the 8-bit energy comes from.
Custom mode cuts the image down to your own color count, anywhere from 2 to 256. You can also import a palette file from Aseprite (.hex) or GIMP (.gpl) so the output matches the rest of your project. The palette panel lists every color in the result with its hex code; click a swatch to copy it.
Step 4 — Tune Contrast and Saturation
Two sliders fix most flat photos. Contrast separates the subject from the background; saturation rescues colors that look washed out. Neither slider invents detail — they adjust what is already in the picture. If you are exporting a chart, this is also the step where you tick grid lines: 1px lines between the blocks, auto-inverted so they stay visible on any color.
Step 5 — Export the File You Actually Need
The free export is a 1x PNG with no watermark, and transparency comes through. If the result is meant for a screen bigger than its native size — an avatar, a print, a zoomed-in graphic — export at 4x instead of stretching the 1x later. SVG export scales without ever blurring, which makes it the right choice for logos and anything vector-cut.
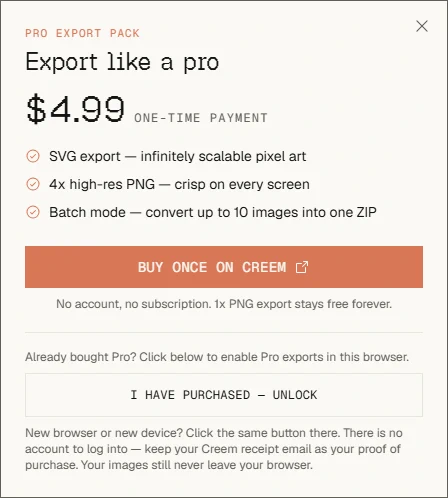
Batch mode packs up to 10 conversions into one ZIP. Those three — SVG, 4x PNG and batch — are the one-time Pro Export Pack for $4.99. The 1x PNG stays free forever, so nothing in this guide is paywalled.
Settings We Use for Common Projects
The generic settings above cover most photos. These are the combinations we actually use, and every one of them is reachable from the free photo to pixel art converter.
- Cross-stitch chart. Target grid equal to your stitch count on the long edge, grid lines on, custom palette of 8–16 colors. One block equals one stitch.
- Perler bead pattern. A standard pegboard is 29×29 — set target grid to 29, tick square crop, grid lines on. One block equals one bead.
- Game sprites. 8px or 16px blocks with a custom palette imported from your project, so the sprite shares the game's exact colors.
- Minecraft map art. Target grid 128 (the size of one map) with a custom palette matched to your wool colors.
- Avatars. 16px blocks, original colors, 4x export. If the source needs a circle or square crop first, the PFP cropper does it.
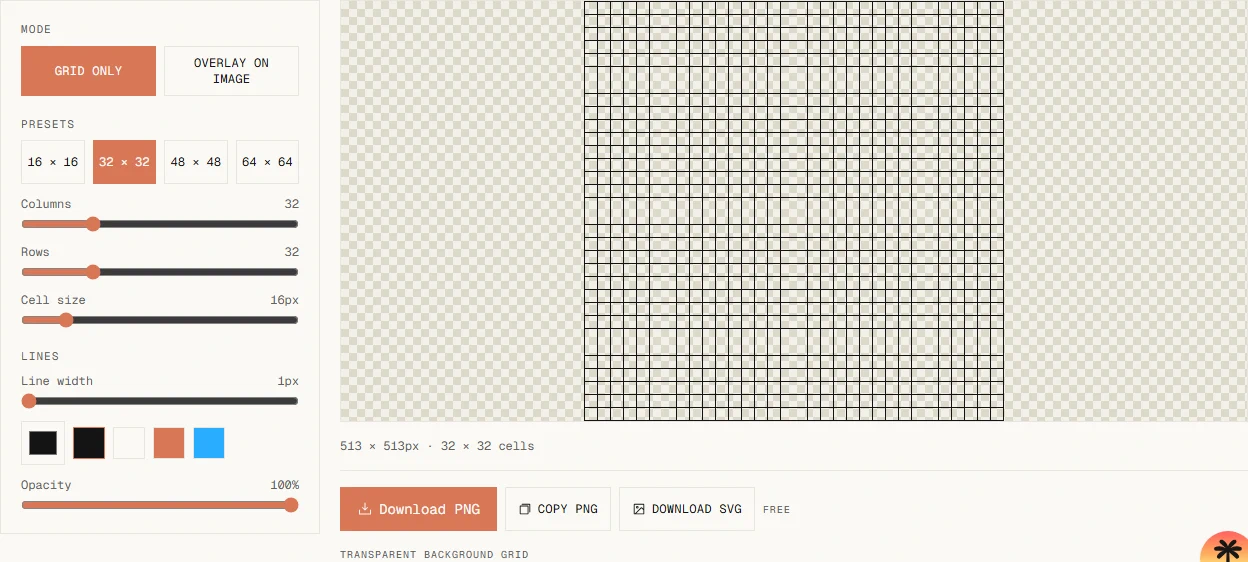
For pure chart work — grids without a photo — the pixel art grid generator gives you 16×16 to 128×128 grids with line width and color control, as PNG or SVG.
Mistakes That Ruin Pixel Art
- Busy photo, small blocks. A detailed scene at 8px or 16px dissolves into noise. Crop to the subject first, or raise the block size until the image reads.
- Exporting 1x for a big destination. 1x pixel art is sharp only at its native size. If it goes into a video, a print or an avatar, export 4x or SVG from the start.
- Skipping the palette. If your project has fixed colors — thread, wool, a console, a brand — choose or import the matching palette. Otherwise the converter's own averaging decides for you.
- Expecting an AI redraw. This converter will not invent a face where four pixels were. If you want a stylized painting in pixel style, an AI filter is the right tool — and it will change what is in the picture.
- Re-compressing the export. Once the PNG is out, do not re-encode it as a JPEG for upload. Compression noise on top of pixels is how blurry pixel art happens. Export again at the size you need.
If you are coming at this from the other direction — a photo that is already pixelated — the how to fix pixelated photos guide covers the reverse problem.
Before & After Examples
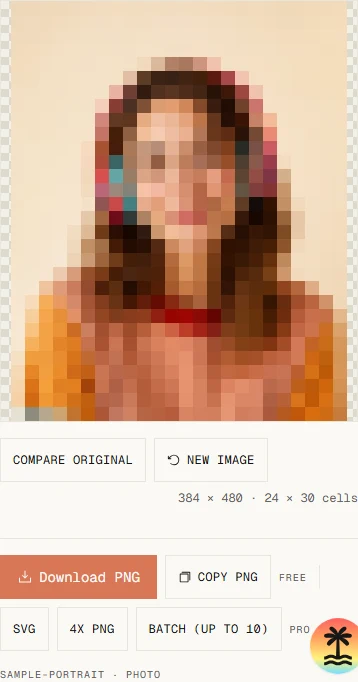
Three versions of the same portrait from the converter's gallery. Same 16px blocks throughout; only the palette changes. The original-colors version is the most recognizable, the PICO-8 version is the most 8-bit — which one to use depends on where the result is going.
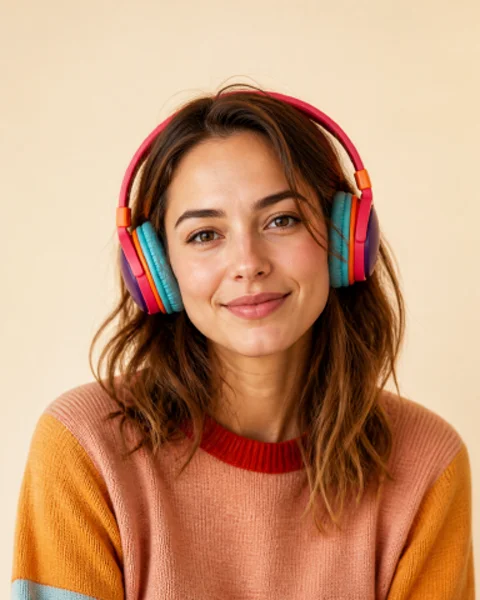
Original
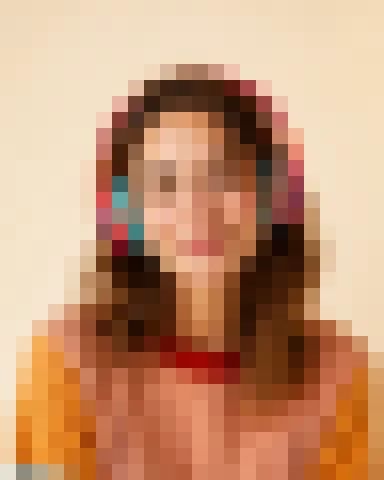
16px · original colors
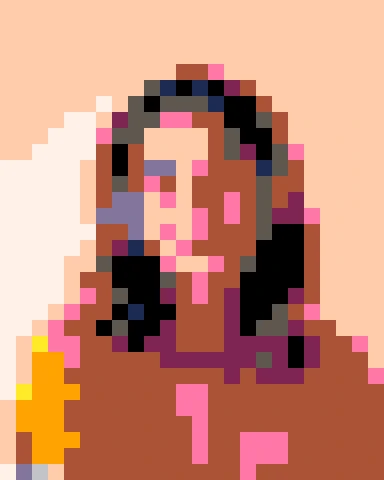
16px · PICO-8
Summary
Turning a photo into pixel art is three decisions: how big the blocks are, which palette the colors come from, and what size the export needs to be. Everything else is polish. Decide those three, run the photo through the converter, and check the result against the original before you export.
If this guide left you with a question, the FAQ above probably covers it — and the tool itself has a compare toggle, so you can check your settings against the source photo at any point. It also works the same on a phone as it does on a desktop.
Related Guides & Tools
- Photo to Pixel Art converter
The free tool this guide walks through — open it in another tab and follow along.
- Pixel Art Grid generator
Grids from 16×16 to 128×128 with line width and color control, PNG or SVG.
- How to Fix Pixelated Photos
The reverse problem: a photo that is already pixelated and needs cleaning up.
- How to Fix Grainy Photos
High-ISO grain and compression noise, fixed in the browser.
- PFP Cropper
Circle or square crops at Discord, X, Twitch, YouTube and GitHub sizes.
Frequently Asked Questions
How do I turn a photo into pixel art for free?
Open the free photo to pixel art converter, drop the photo in, and download the 1x PNG. No account, no watermark, no upload — the whole pipeline runs in your browser.
What is the difference between this and an AI pixel art filter?
This converter builds a real pixel grid: fixed block size, fixed palette, deterministic result. An AI filter redraws the image in pixel style and can change details. Use this one for charts, sprites and patterns; use AI when the stylized redraw is the goal.
What block size should I use?
16px is the classic pixel art look. 8px reads as sprites and icons; 32px and 64px lean mosaic. If the output needs an exact cell count, switch to target grid and set the number directly.
Can I use this for cross-stitch or perler bead patterns?
Yes. Set target grid to your stitch or pegboard count, tick square crop, and turn on grid lines — each block becomes one stitch or one bead. The pixel art grid generator is handy when you do not need a photo underneath.
Does my photo get uploaded anywhere?
No. Processing happens entirely in your browser with the Canvas API. Load the page, disconnect from the internet, and it still works — the photo never leaves your device.